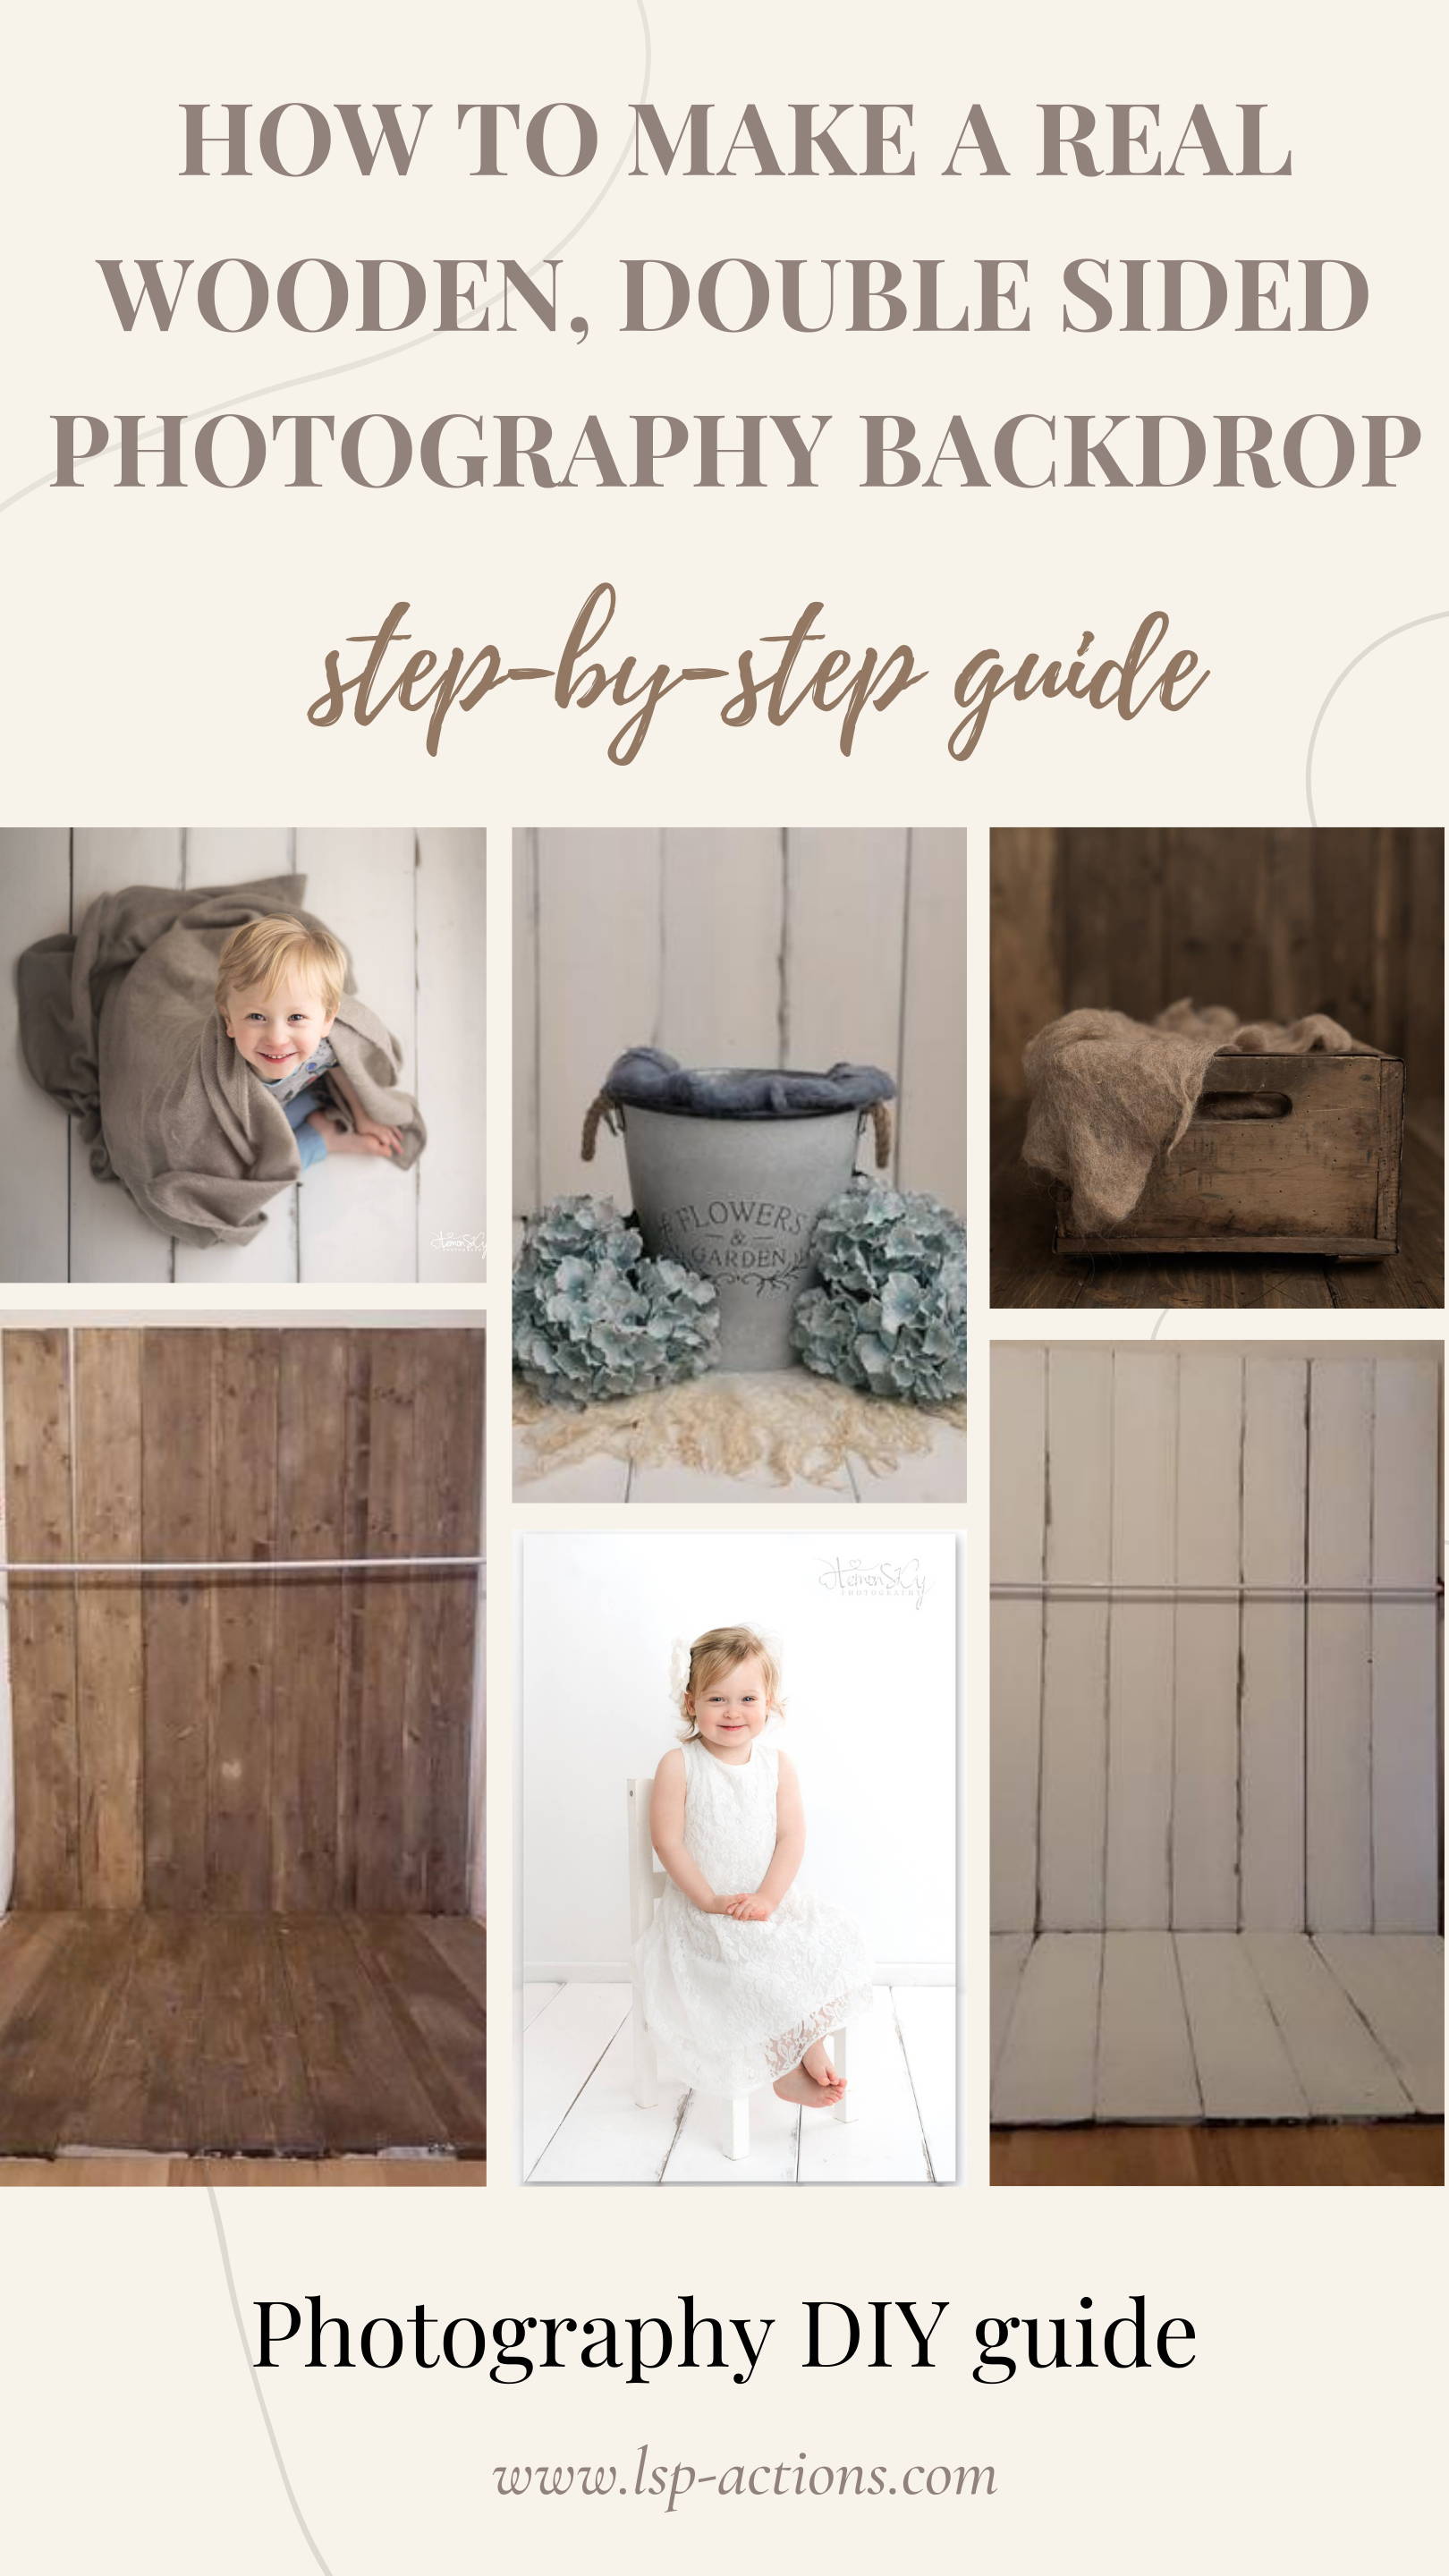
How to make a real wooden distressed double sided photography backdrop for photographers — DIY guide.
This tutorial shows you step-by-step how to make your own distressed antique look real wood photography backdrop. Simple to make, lasts a long time. Easy to flip over to go from brown to aged white in a few seconds, giving you so many shooting options.
As a newborn and family studio portrait photographer, I longed for a real wood distressed backdrop. In 2016 I came up with the idea of creating a real wood distressed reversible photography background for my studio that checks all the boxes. 5 years later, this backdrop is STILL going strong and is used in almost every session I shoot.
Read the blog below for the step-by-step method of creating a real wooden photography backdrop using safe materials.
This wooden backdrop is so versatile and robust it will last, yet it's light weight and transportable, so you can use it in your photography sessions as and when you wish.
Join the LSP Actions Photography tribe
Sign up for weekly photography tips, editing tricks and latest news from Photographer and editing tutor Lauren Bennett
Sure you can get vinyl wood-effect printed photography drops, click-together laminate boards or even real vinyl flooring from the local DIY store (yikes, not recommended, the shine is impossible with studio lighting).
This tutorial is for those of you who want the real thing in your studio, without the risk of using reclaimed old wooden floor boards. I don't recommend using old or antique boards because of the weight and the risk of splinters and hidden nails (not to mention rot or ingrained chemical treatments or lead). I also don't recommend scaffolding boards, the sheer weight of these puts your studio health and safety at risk and there are guaranteed to be hidden nails and screws too.
Read on for the complete step-by-step tutorial.
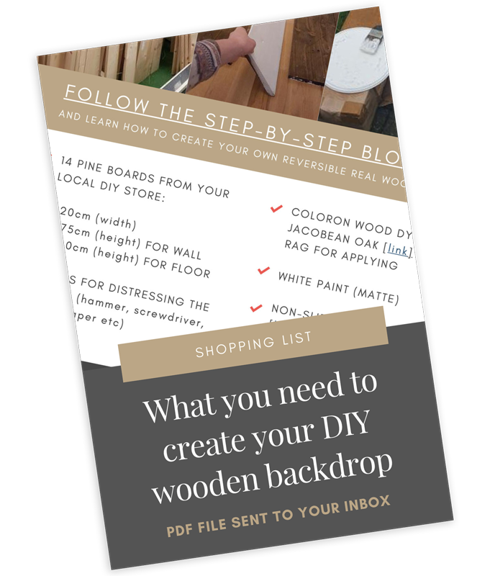
Step 1: Source your pine wood planks
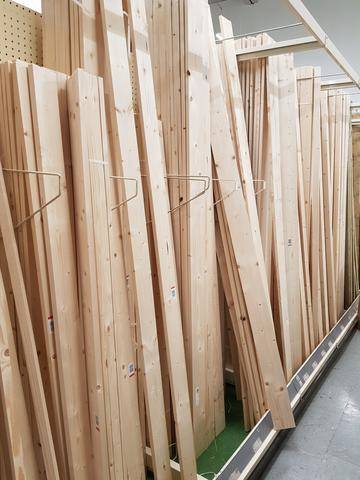
You will want untreated pine boards from your local large DIY store:
These are perfect as they are really lightweight and also untreated, meaning they can be easily stained. They are sanded and smoothed to size so there are no splinters.
Choose your size:
Measure your space and choose the length and width you need to fill. I personally chose:
• WALL: 7 planks at 175cm(h) x 20xm(w)
• FLOOR: 7 planks at 120cm(h) x 20cm(w)
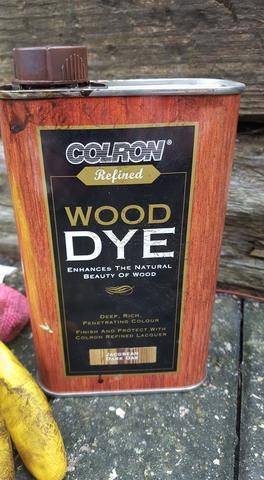
Step 2: Buy the stain and white paint
For the dark stain I love jacobean dark oak, but you can choose which ever color you prefer. You can search or click: Coloron Wood dye in Jacobean Dark Oak. A couple of coats (plus some distressing) and it darkens up. You will need 2 of these (250ml) for 14 boards, if in doubt buy a third.
For the white paint I use Rust-Oleum Chalky Furniture Paint. Annie Sloan or other brands of white chalk furniture paint would work equally as well. Seal with the coordinating matte wax (same brand recommended) to make it lightly waterproof if required.
You could also use matte emulsion, bathroom wall paint or any white paint really! Just make sure it is kind to the environment and low to zero odour (for safety).
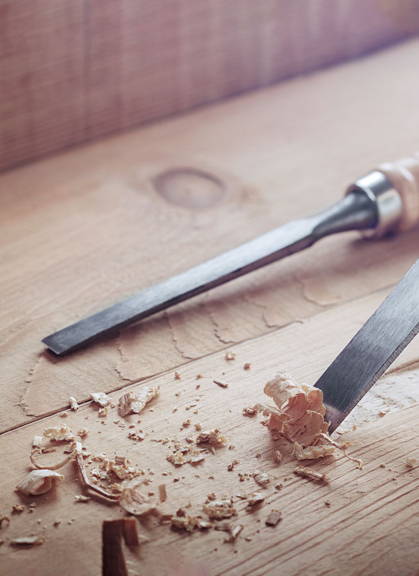
Step 3: Distress the wood (1.5 - 2 hours)
The aim is to create some natural irregularities over the wood surface and edges to give an "aged" appearance.
Use what you have. A hammer to bash dents around the edges, sandpaper to smooth rough areas, a chisel to gouge and scratch, a screwdriver... all tools are great. Please wear safety goggles and make sure you remain safe at all times.
The trick is to distress the wood in a natural way and create an antique, worn surface. This is also excellent for your staining, as the stain will appear a lot darker in the distressed areas.
#TIP: Watch out for tree-juice! Sap can leak out and it's mega sticky.
Step 4: Stain the dark side
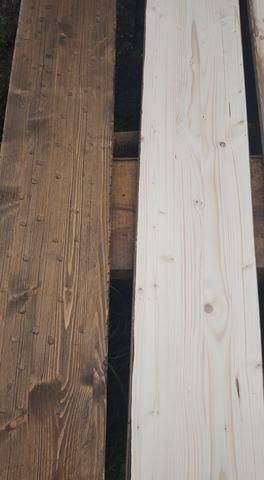
Make sure you have some rubber gloves and an old rag to do this. Also, please work outdoors or in a well-ventilated area.
Shake the stain LOTS. Pour a generous amount onto your rag and start to evenly & smoothly rub into the planks. You can't over-do this part, so spread generously and freely!
Work it in well to the distressed areas and don't be shy, the more the better! It dries very quickly so by the time you've finished the last plank, your first will be dry and ready for a second coat if you feel the need for it (I did 2 coats for added darkness). Leave overnight to let it soak in and dry completely.
#TIP - add a little stain going around the back to the other side. This will leave some dark edges if you want to "shabby chic" the white side tomorrow.
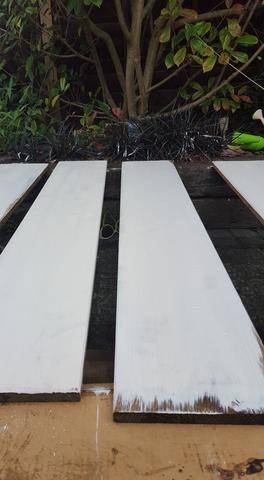
Step 5: Paint the white side
The next day, turn your boards over and paint them white with your white paint.
If you prefer a clean look, you want 2-3 coats of even white paint for a clean finish. You can also coat with matte furniture wax or varnish if you want added protection (make sure it isn't shiny, this will effect your lighting!)
For an antique finish, let the paint dry then lightly sand away at some corners/sides for a shabby chic, retro feel.
Let it dry (4-6 hours minimum, up to 24 hours, depending on the paint and the weather/conditions).
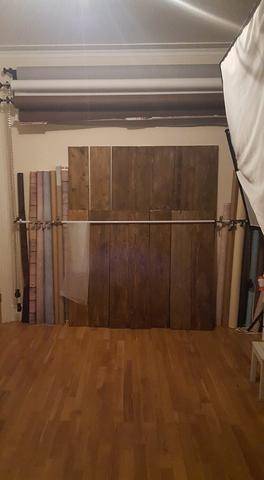
Step 6: Using in your studio
Securing a long pole onto the wall is a great way to both hold the wood and protect the backdrop from falling, without having to fix it into place.
I have a long pole already attached to the wall in our studio, under the mounted backdrop system. This serves a double purpose - to store rolled backdrops neatly behind and also to clip the beanbag fabric on to when posing.
This lightweight metal pole is held safely in place with 2 very strong metal hooks drilled deep into the wall and sealed for extra measure. These were installed by a professional. Please make sure your pole is safe if you go for the same setup. The pole is hollow with rope passing through the middle so I can "swing it" away from the wall a little.
Simply slide the tall wood planks up behind the pole, with the tops against the wall, but the bottoms jutting out further (about 15cm) so they are leaning back and not straight up against the wall. This is an extra safety precaution as though the pole would protect them from falling, I also don't want them to try. So position them leaning back against the wall.
Line up the floor planks with your wall planks, making sure they are straight.
For the floor planks, you can use a non-slip rug mat underneath to stop them skidding about (please still be careful though and make your own judgements when it comes to what you need to keep the planks secure and safe for your clients. This depends on your individual studio floor and set up).
You can also line the planks width-ways for a different set up.
Try using just the wood floor with a seamless backdrop on the wall instead. You can also use the wall planks on the floor to make an "uneven" pattern of planks.

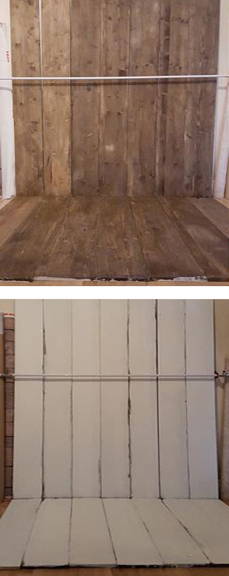
Simply flip the boards over to go from dark wood to antique white in a snap.
This is literally all you need to do! Simply go through the boards, flipping them over one at a time to change the backdrop from dark wood to antique white.
I recommend keeping the boards lose rather than fixing them together because this gives you so many more creative options when it comes to using these in your studio.
This takes about 1-2 minutes, depending on your setup and can easily be achieved in a small space.
Step 7: Storing when not in use
Simply slide the boards up under the security pole when not in use.
This is just one way to store the boards! You could also stack them in an alcove, or lay them flat on the ground one on top of the other. Just make sure you store them safely.
#TIP — If you go long periods without using the planks and leave your boards standing tall in a damp, humid or cold area (such as a garage or shed) you might risk the wood warping. I recommend storing flat on the floor if this is the case. If the wood warps, simply lay it flat with the warp arching away from the ground, and place heavy items on top for a while to encourage it to flatten out. In the 5 years since I created this drop that has never happened, but it's always a risk with all woods.
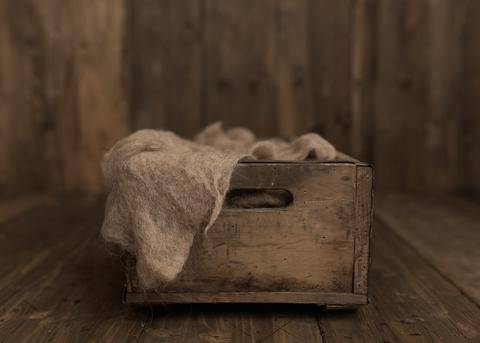
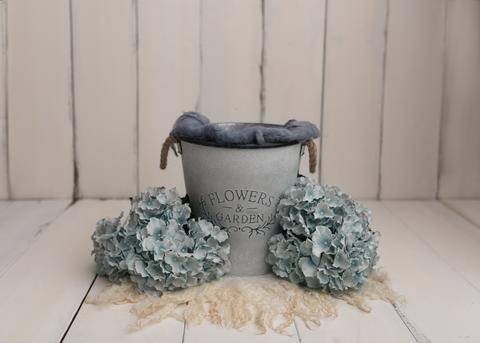
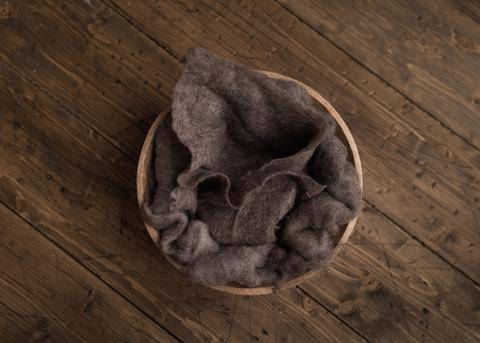
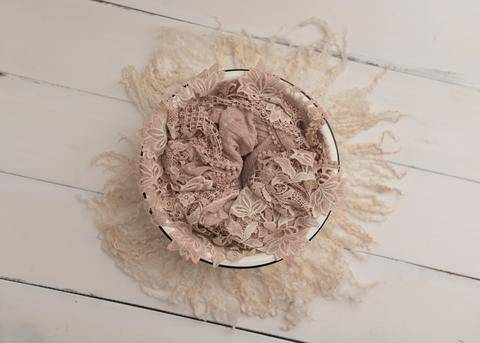
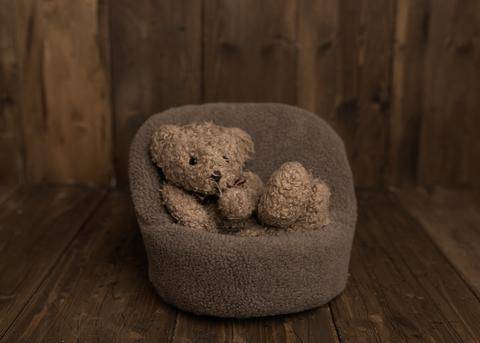
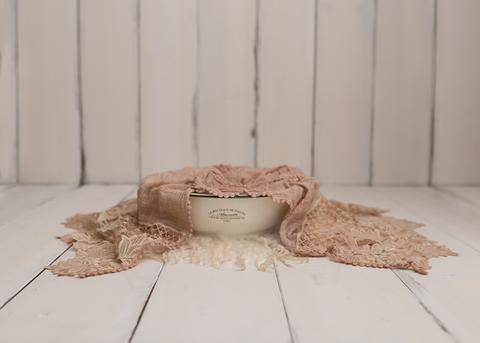
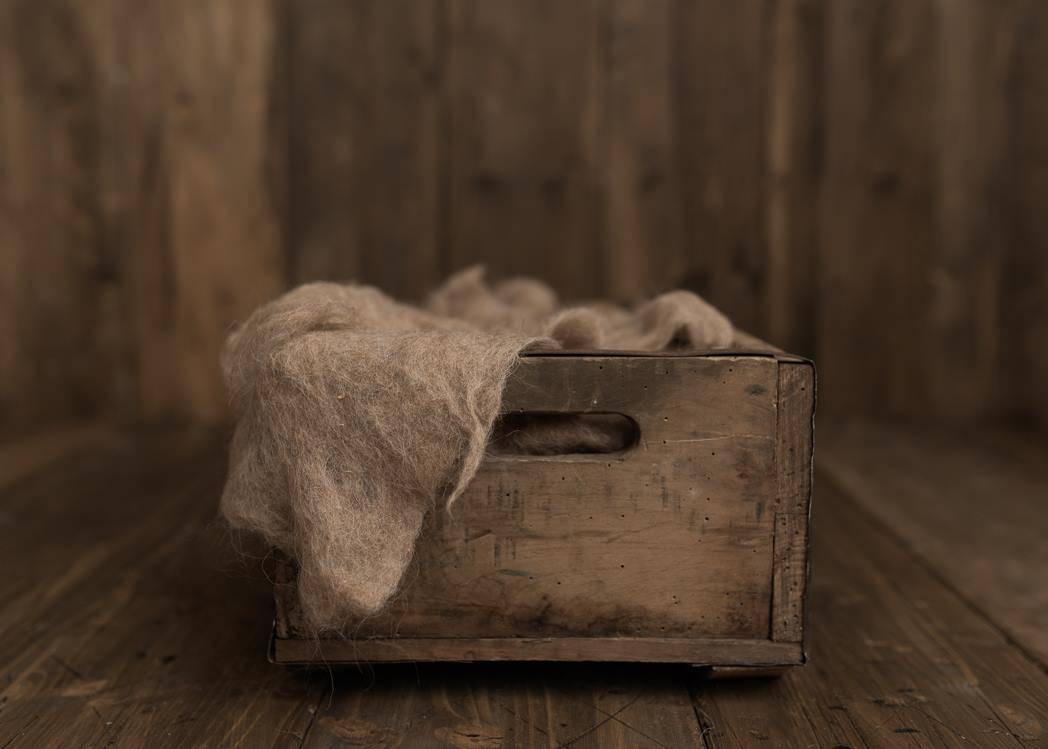
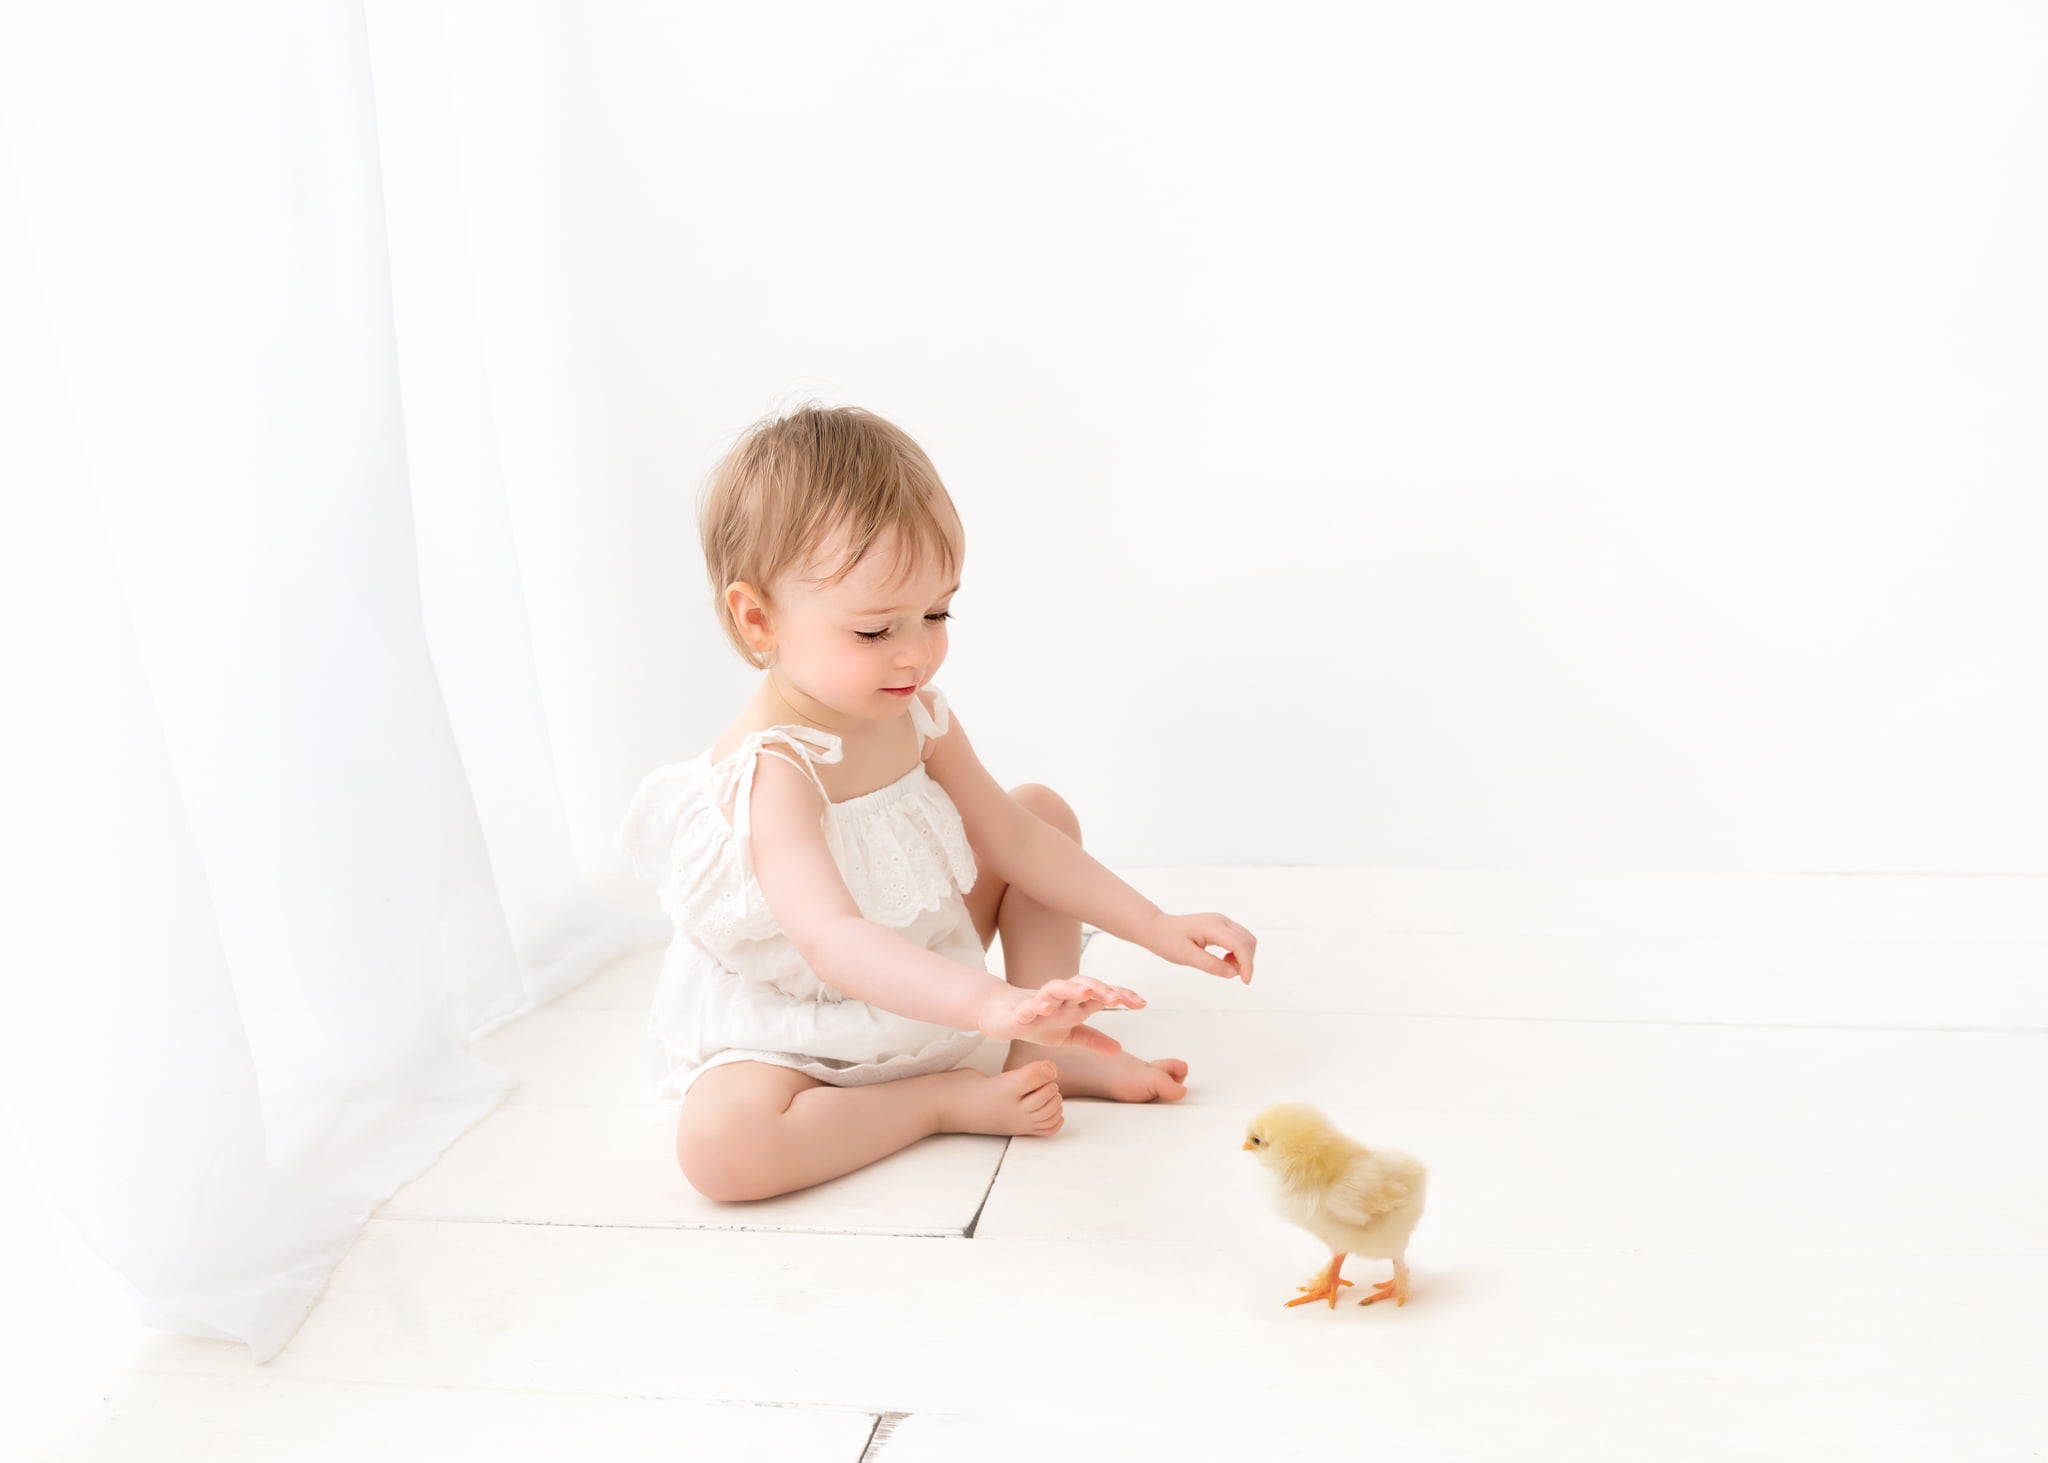
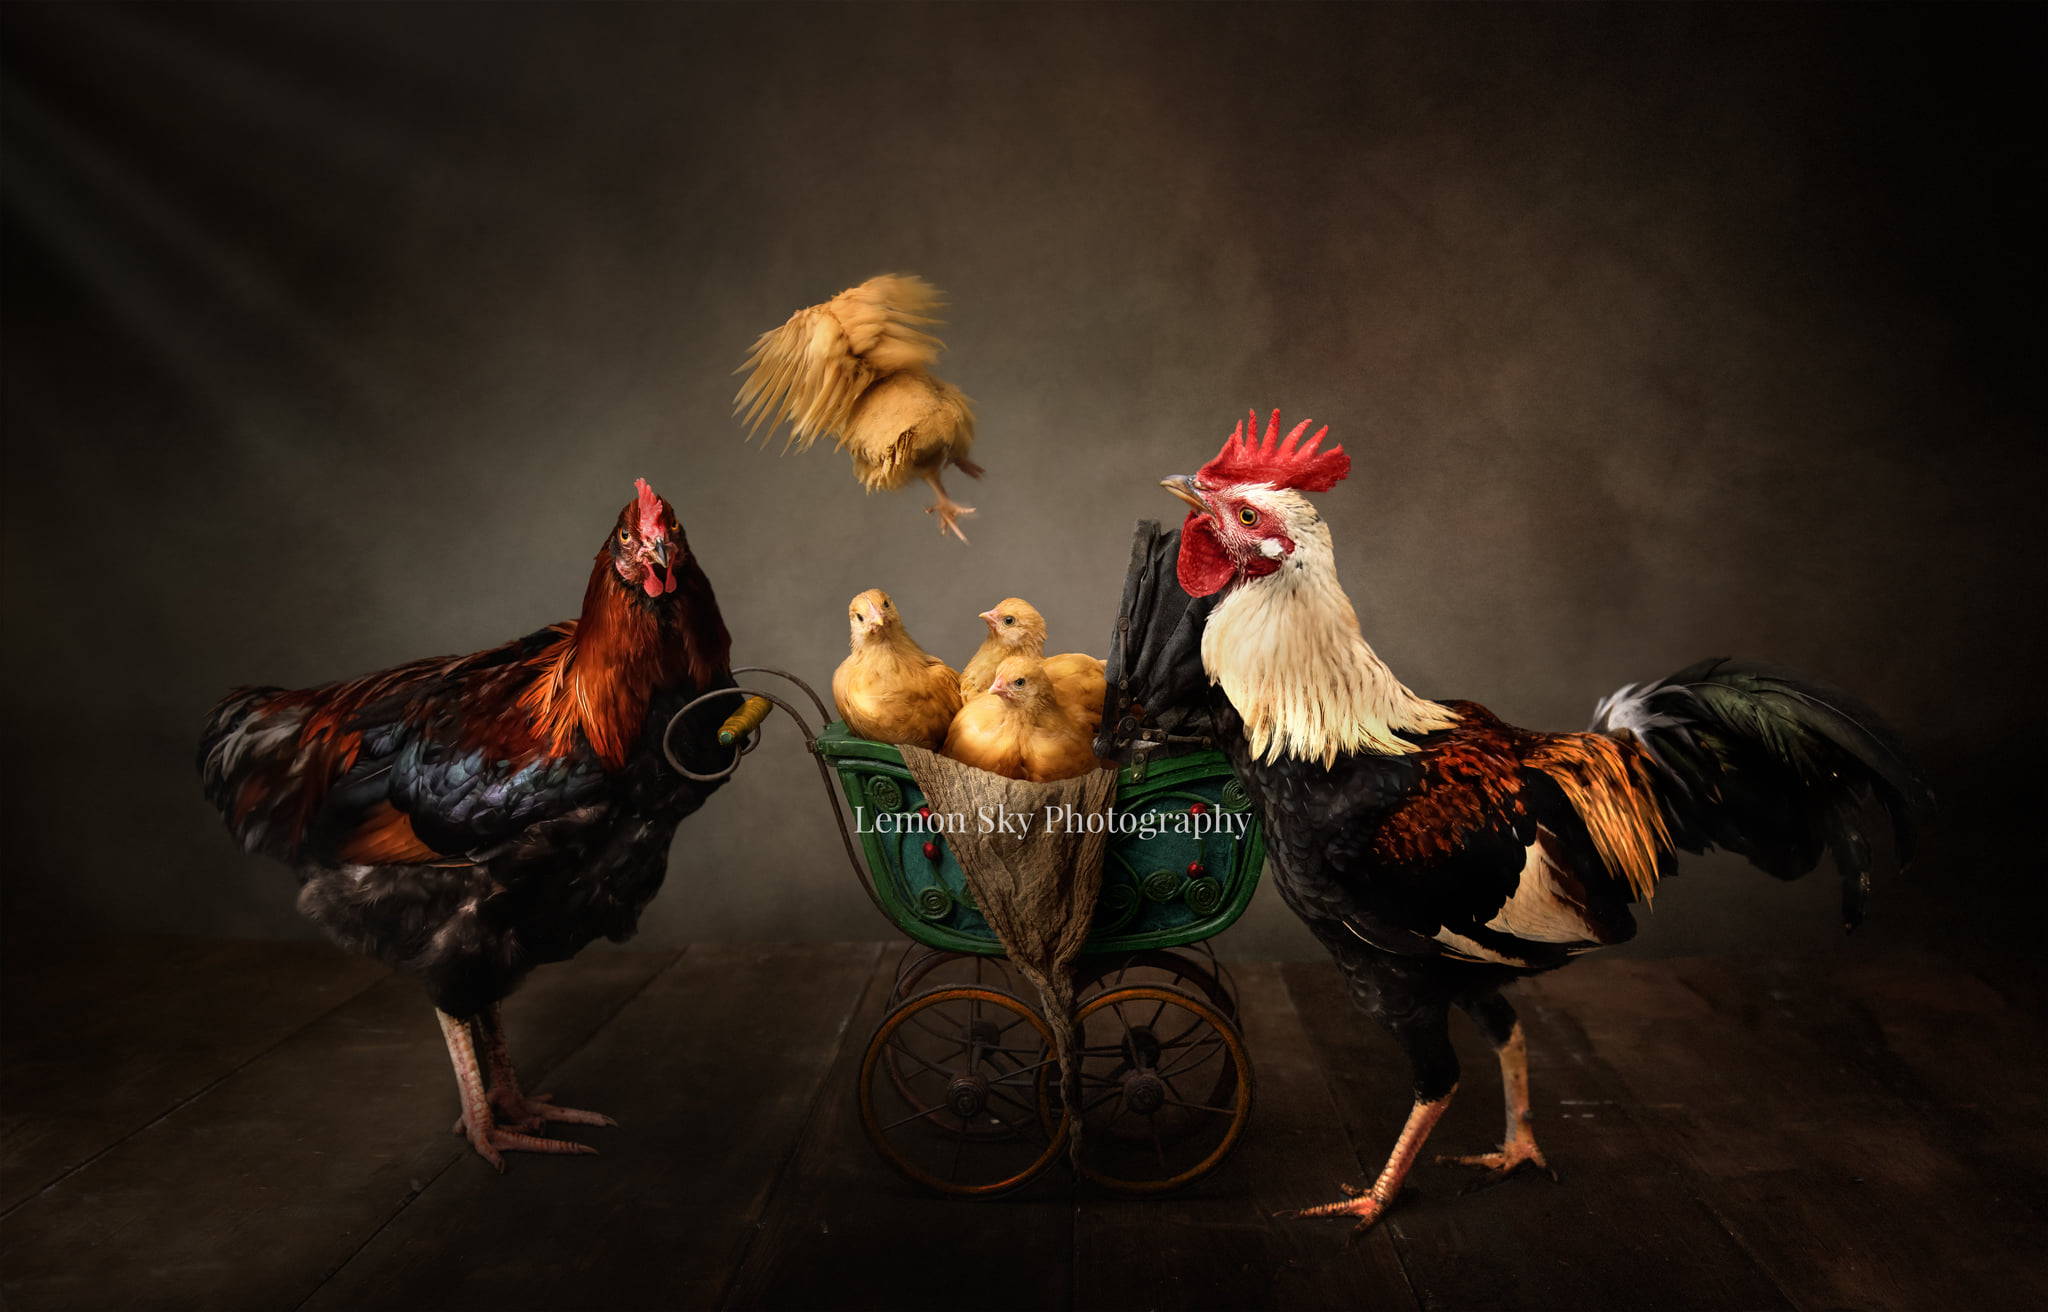
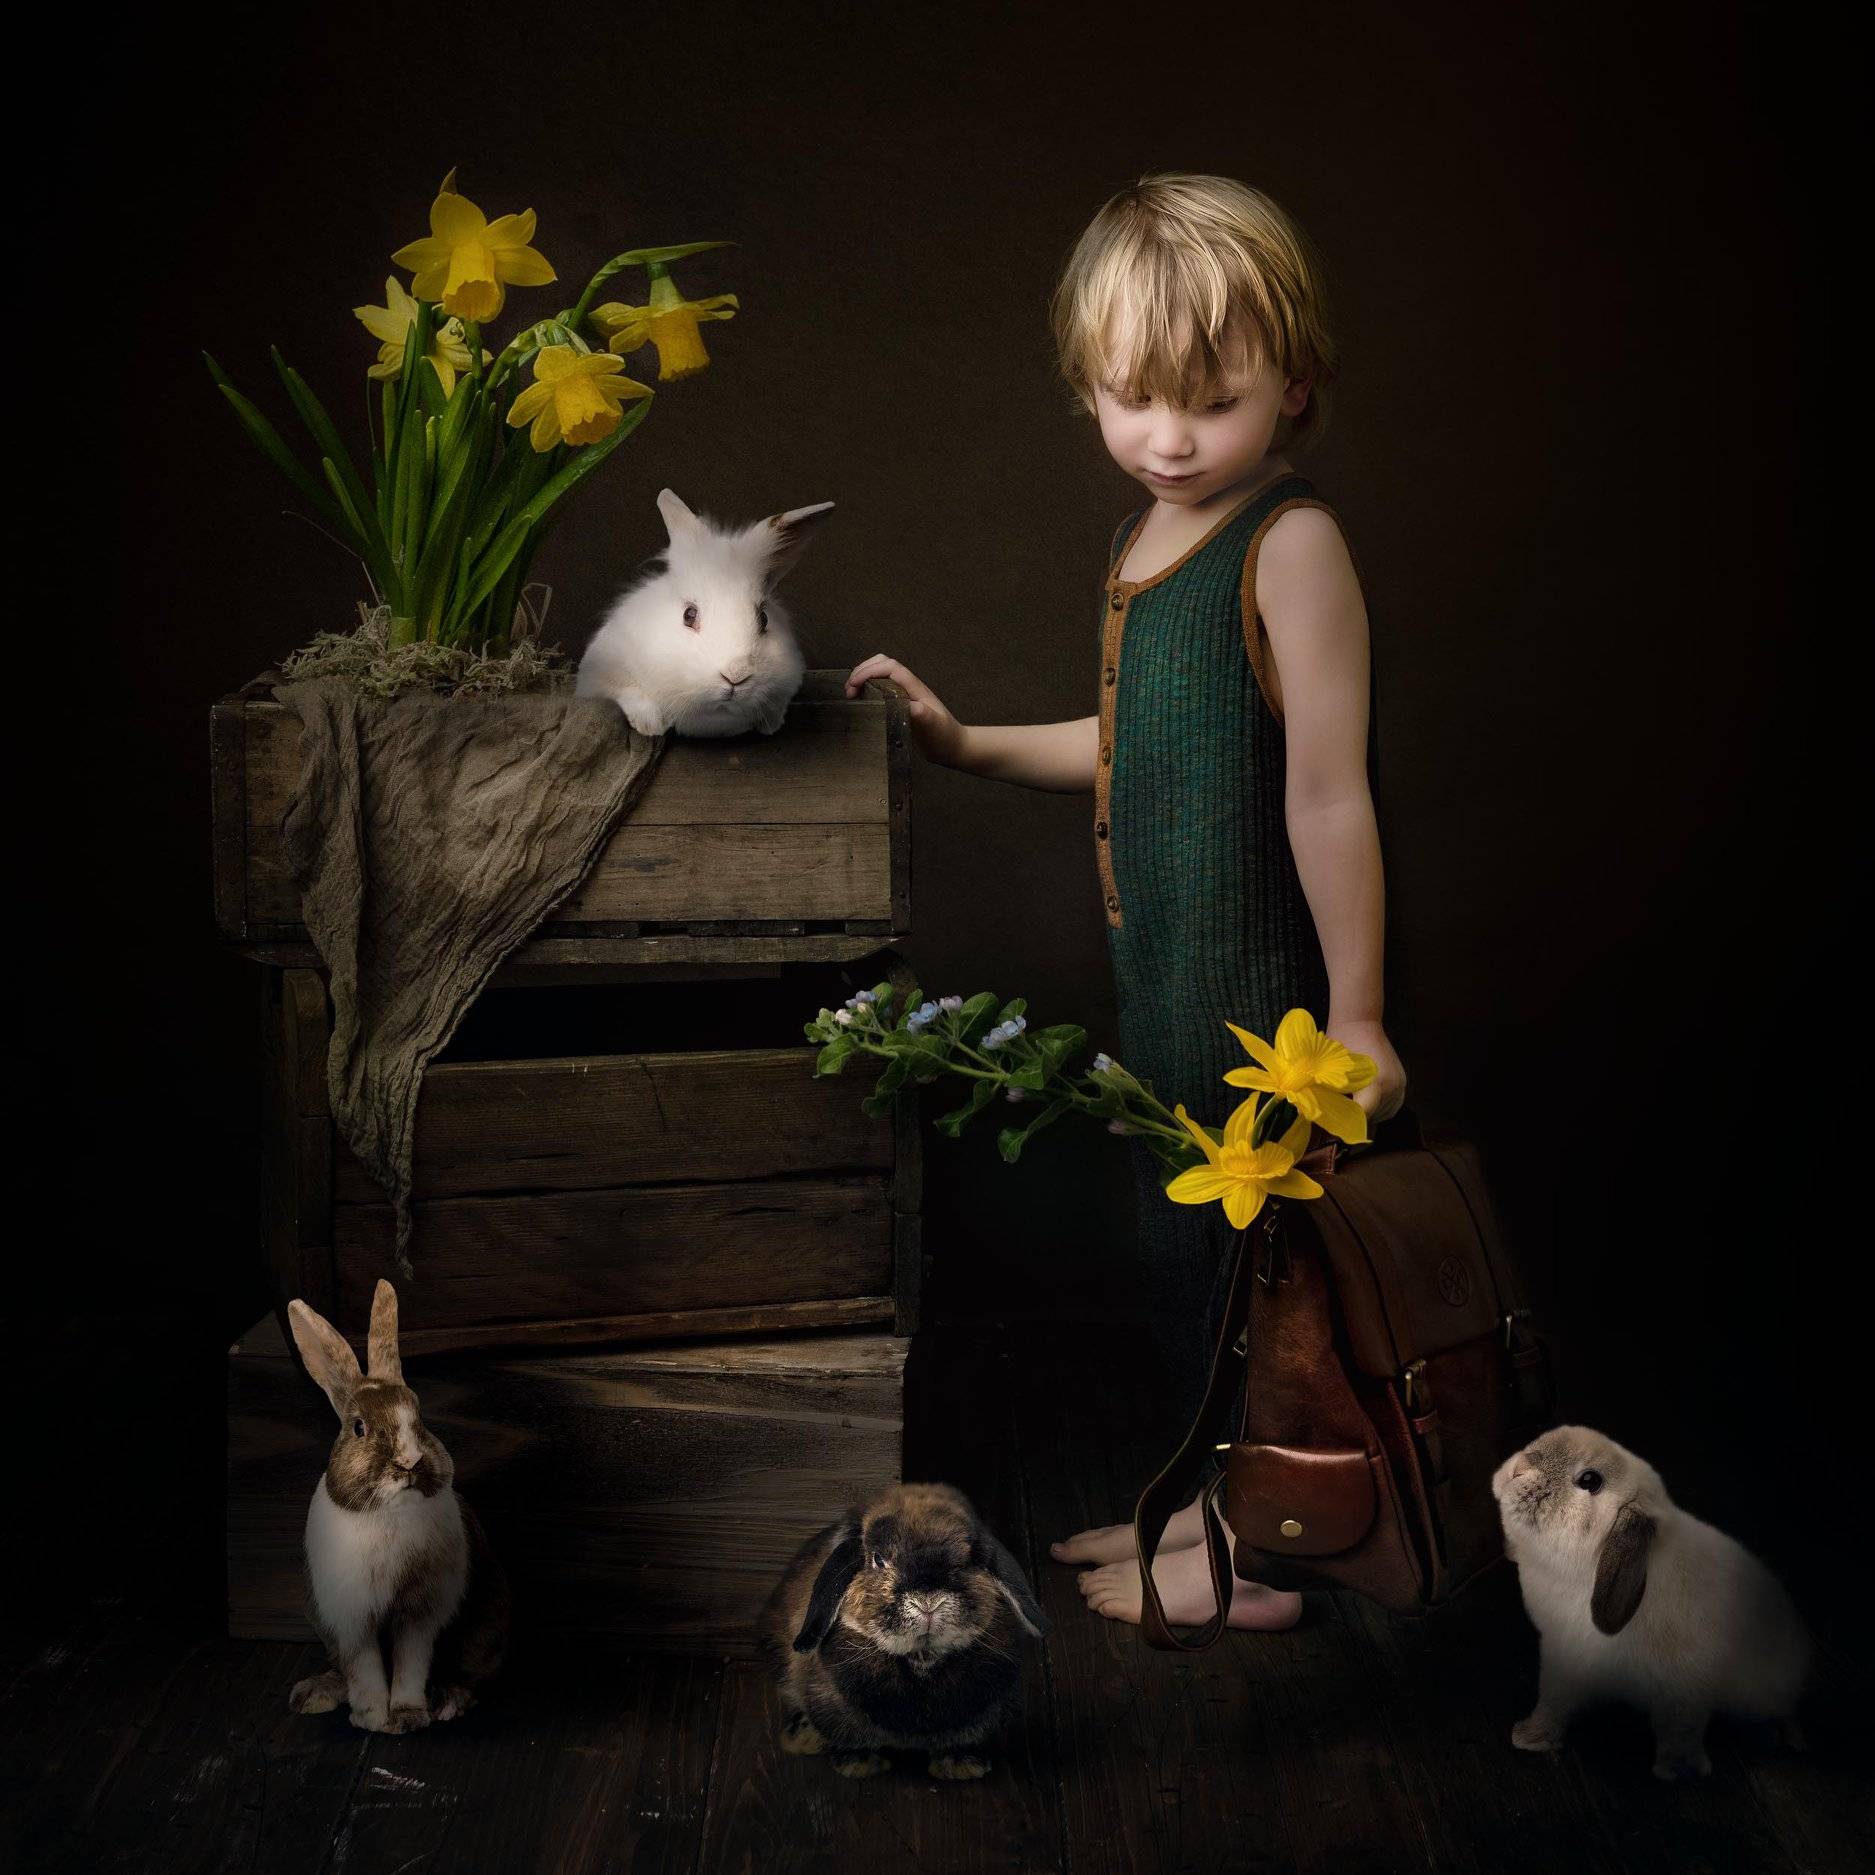
Images using this double sided wood drop


Want to try this yourself?
Want to save this handy blog post for later? Click below to pin or share: